一、速度安装
1
2
3
4
5
6
| npm config set registry https://registry.npm.taobao.org
npm install hexo-cli -g
hexo -v
hexo init
hexo generate
hexo server
|

二、Github部署
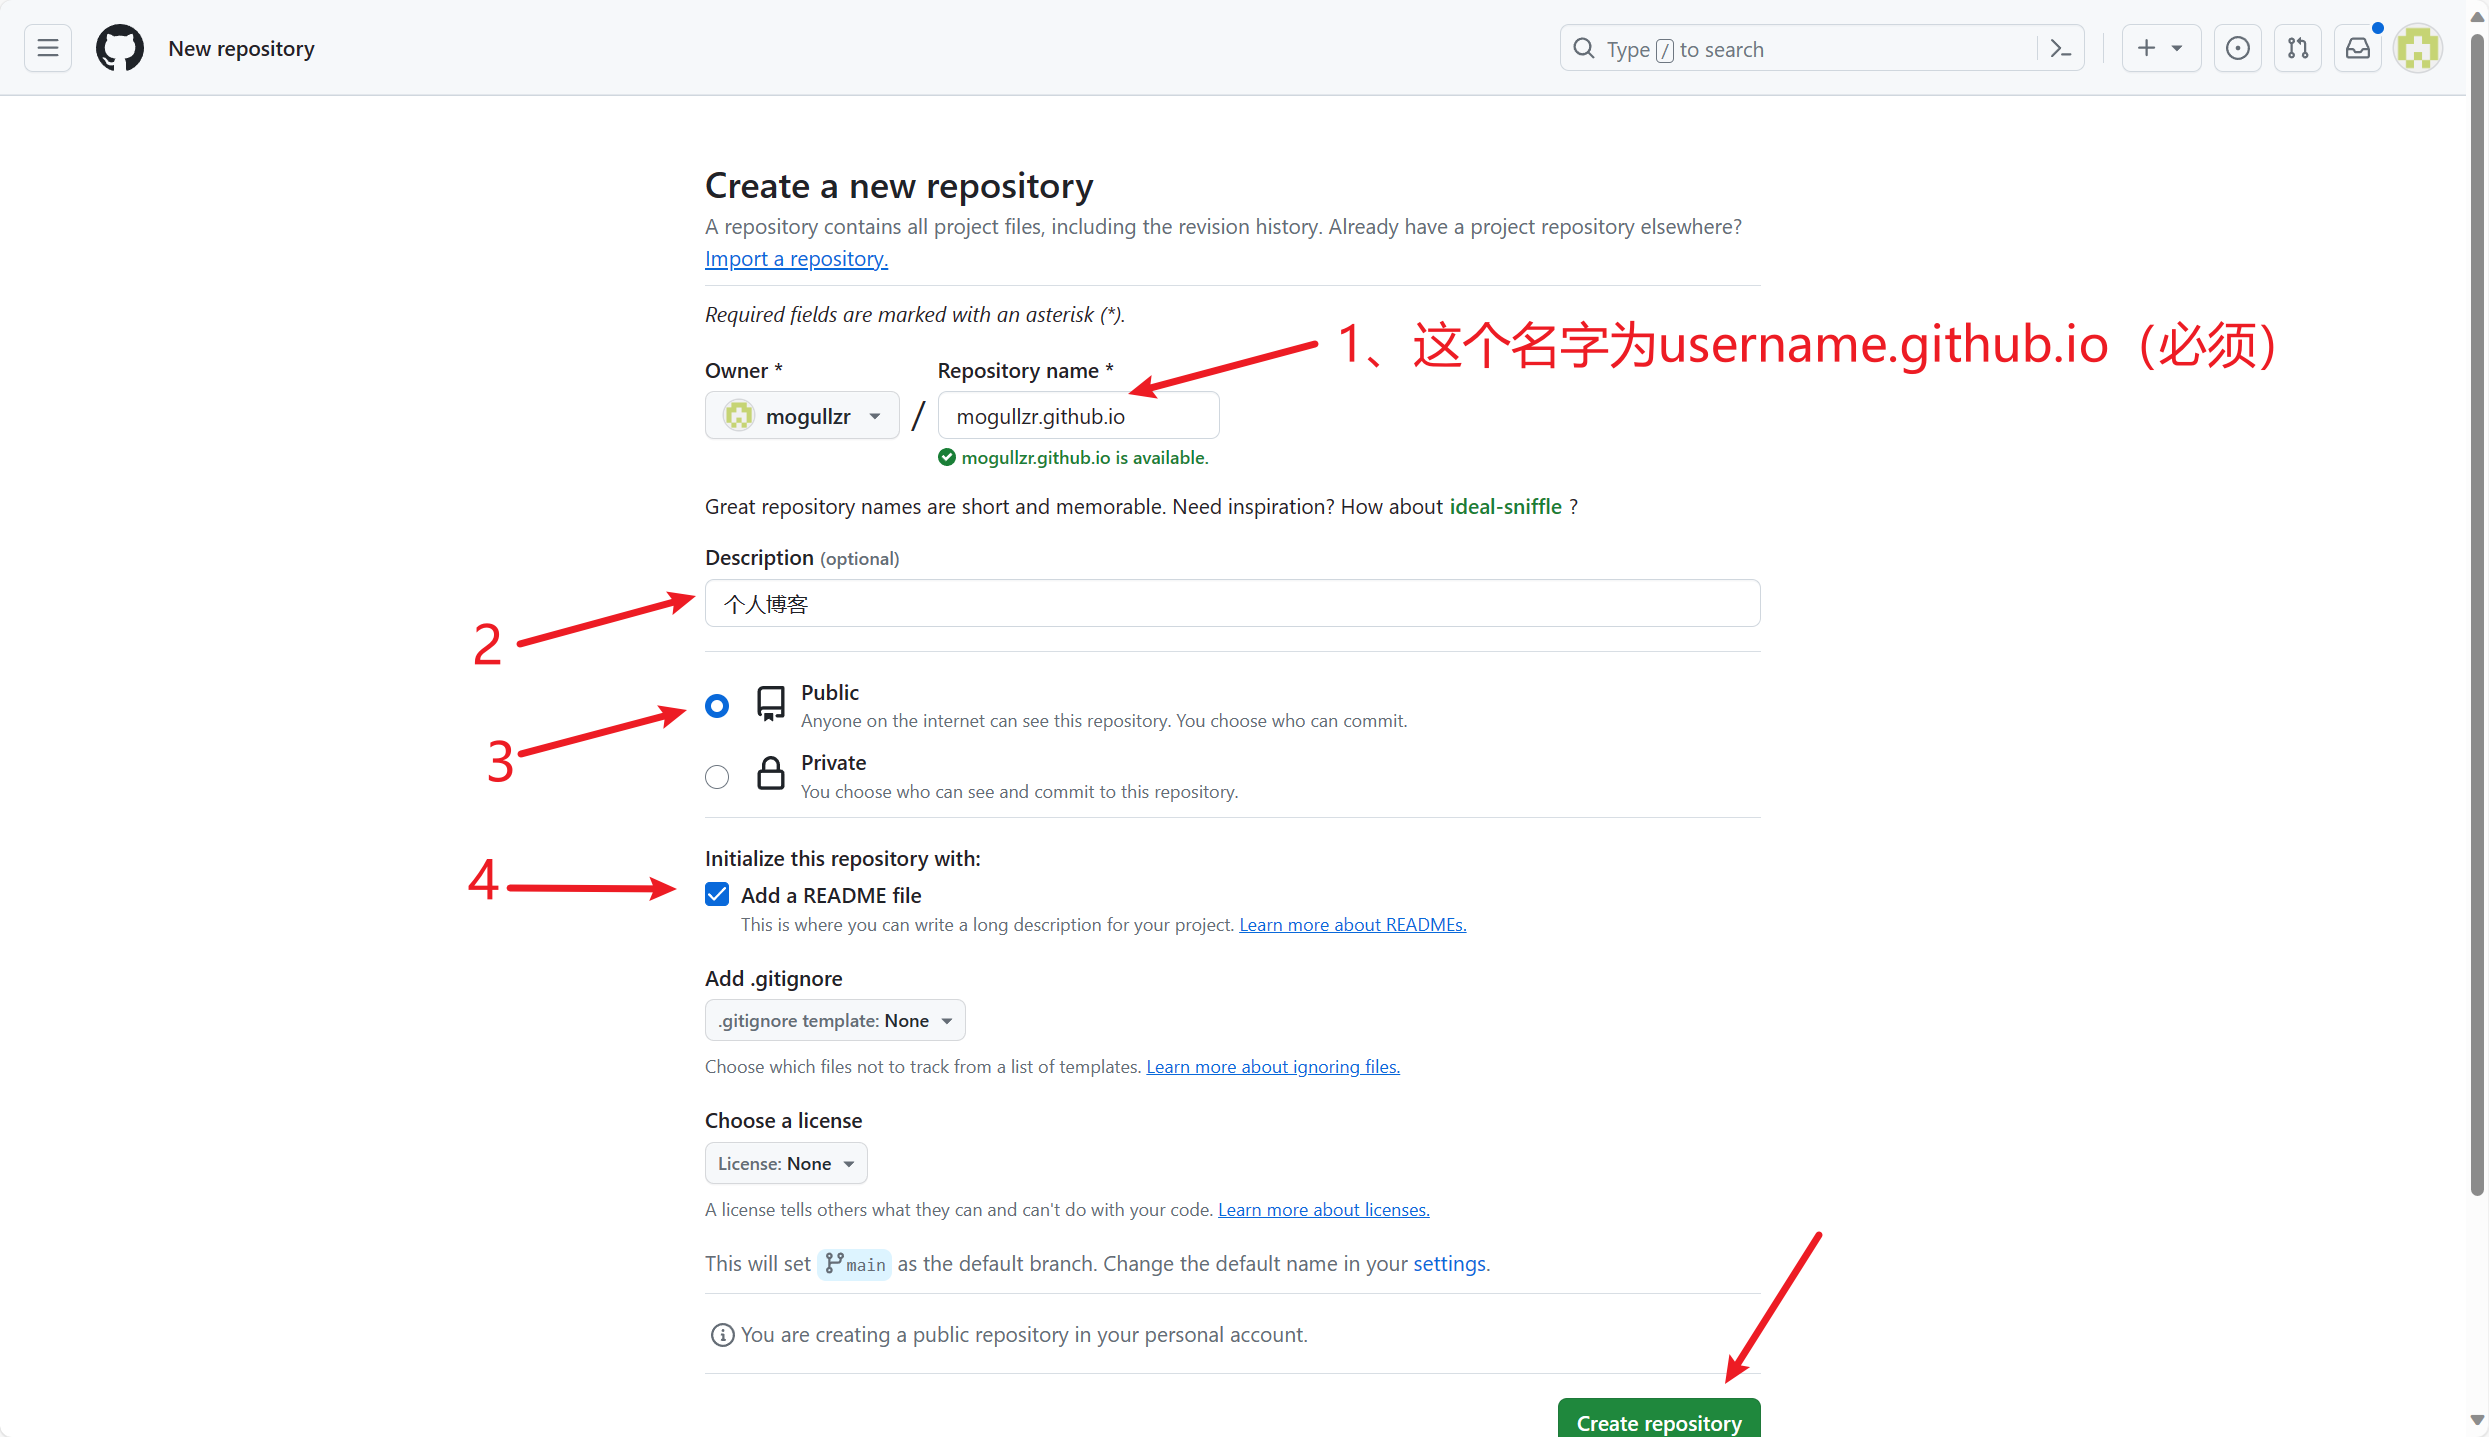
第一步:创建一个username.github.io的库

第二步:在博客根目录的_config.yml配置
1
2
3
4
| deploy:
type: git
repository: [email protected]:username/username.github.io.git
branch: gh-pages
|
仓库的gh-pages分支部署你的页面,然后再master分支保存你网站的源代码,不会相互覆盖。
第三步:正式部署
1
2
3
4
| hexo clean
hexo generate
hexo deploy
|
注意错误点!!!!
在进行二次代码上传前必须加上hexo clean这句话!不然可能会出现缓存问题而导致上传后出现404问题
代码上传前先将.git、.deploy_git目录全部删除
三、更换主题(例子Fluid)
安装包
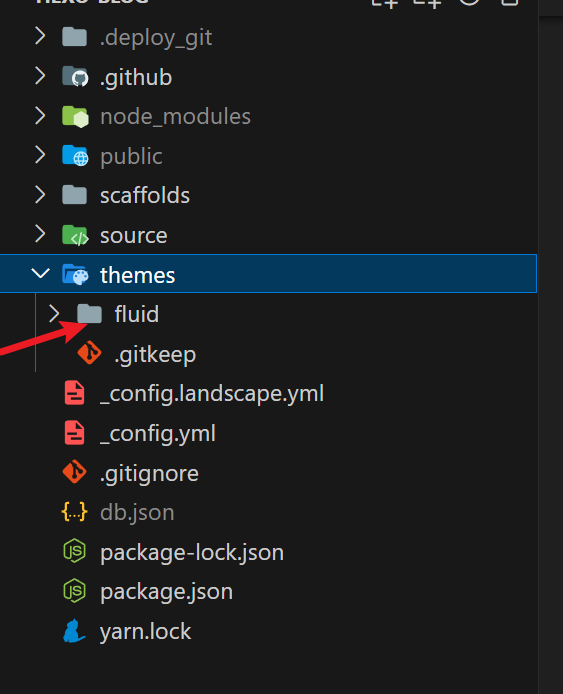
第一步:将压缩包解压放到themes目录下

第二步:将Hexo的根目录的_config.yml修改
1
2
| theme: fluid
language: zh-CN
|
四、写文章
第一步
第二步:编辑/source/about/index.m同时配置
1
2
3
4
5
6
7
8
9
10
11
12
13
14
15
16
17
18
19
20
21
22
23
24
25
26
27
28
29
30
31
32
33
34
35
36
37
38
39
40
41
42
43
44
45
46
47
48
49
50
51
| ---
title: about
date: 2024-01-21 16:29:21
---
```bash
npm config set registry https://registry.npm.taobao.org
npm install hexo-cli -g
hexo -v
hexo init
hexo generate
hexo server
```


```bash
deploy:
type: git
repository: [email protected]:username/username.github.io.git
branch: gh-pages
```
仓库的gh-pages分支部署你的页面,然后再master分支保存你网站的源代码,不会相互覆盖。
```bash
hexo clean
hexo generate
hexo deploy
```
|
配置
第三步:本地启动
五、个性化设置
Hexo的根目录下_config.yml

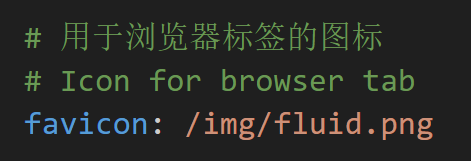
Fluid目录下的_config.yml修改Fluid的图标(基本都有解释可以直接查看这些是什么)


